Stove Flame Color Science: Read Efficiency and Risks
By Tenzin Dorje • 19th Jan
Understanding stove flame color science is your first line of defense against inefficient fuel use and potential hazards, especially when temperatures drop below freezing. Your flame isn't just fire; it's a real-time diagnostic tool revealing combustion efficiency indicators that could mean the difference between hot coffee at dawn and a frozen, fuel-starved team. In cold weather, where every ounce of liquid fuel counts and mistakes propagate quickly, reading your flame correctly becomes a survival skill more than a curiosity. Let's cut through the marketing myths and examine what your stove is actually telling you.
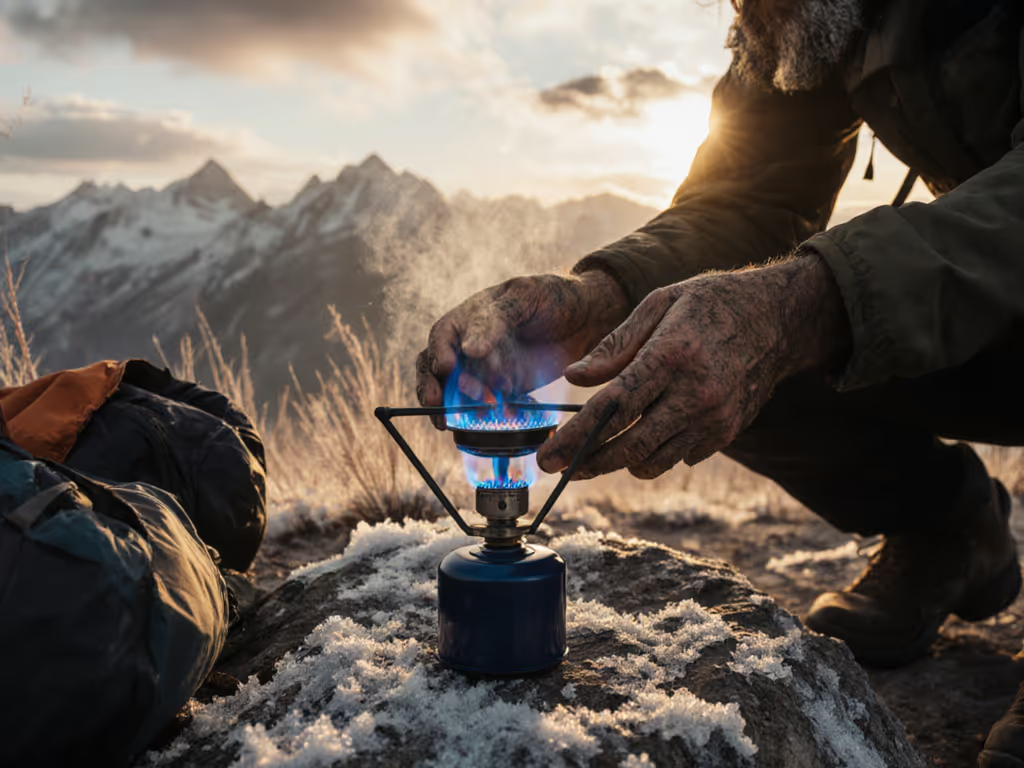
Why is blue the only acceptable flame color for winter operations?
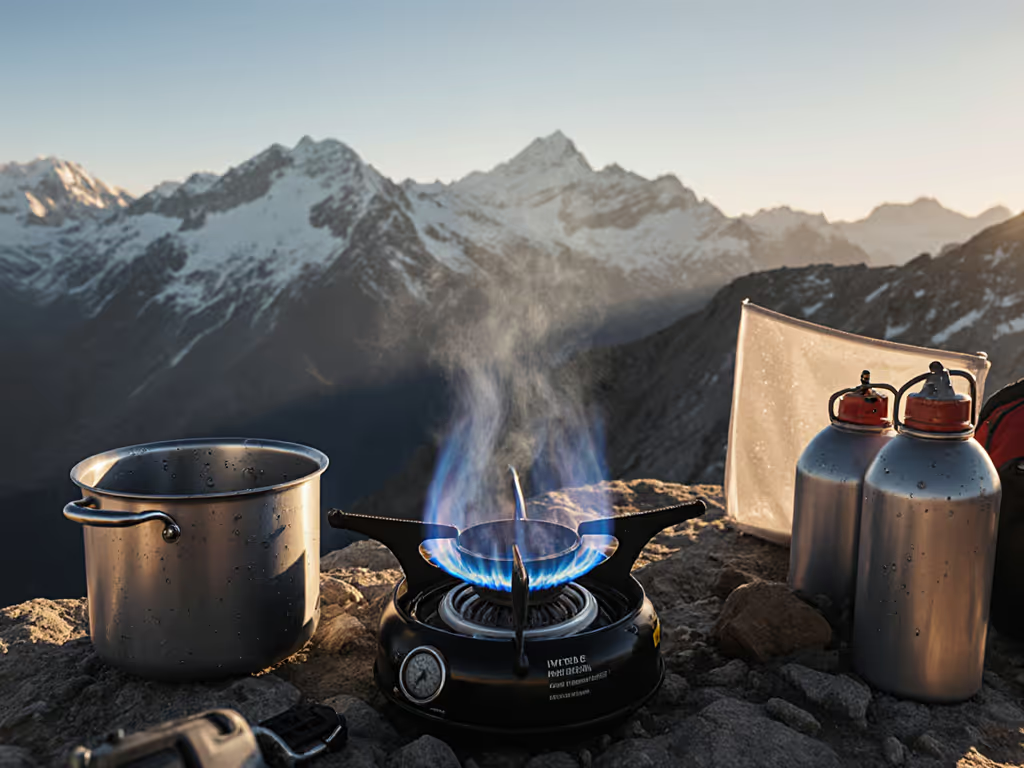
A true blue flame indicates complete combustion at approximately 1,980°F (1,100°C) (the temperature at which hydrocarbon fuels like propane and butane fully oxidize with available oxygen). When your stove burns blue, you're getting maximum heat output per unit of fuel, minimal soot production, and critically low carbon monoxide generation. At -20°F, the difference between a blue flame and a yellow one can mean 30% more fuel consumption for the same amount of melted snow. That inefficiency becomes dangerous redundancy gone wrong.
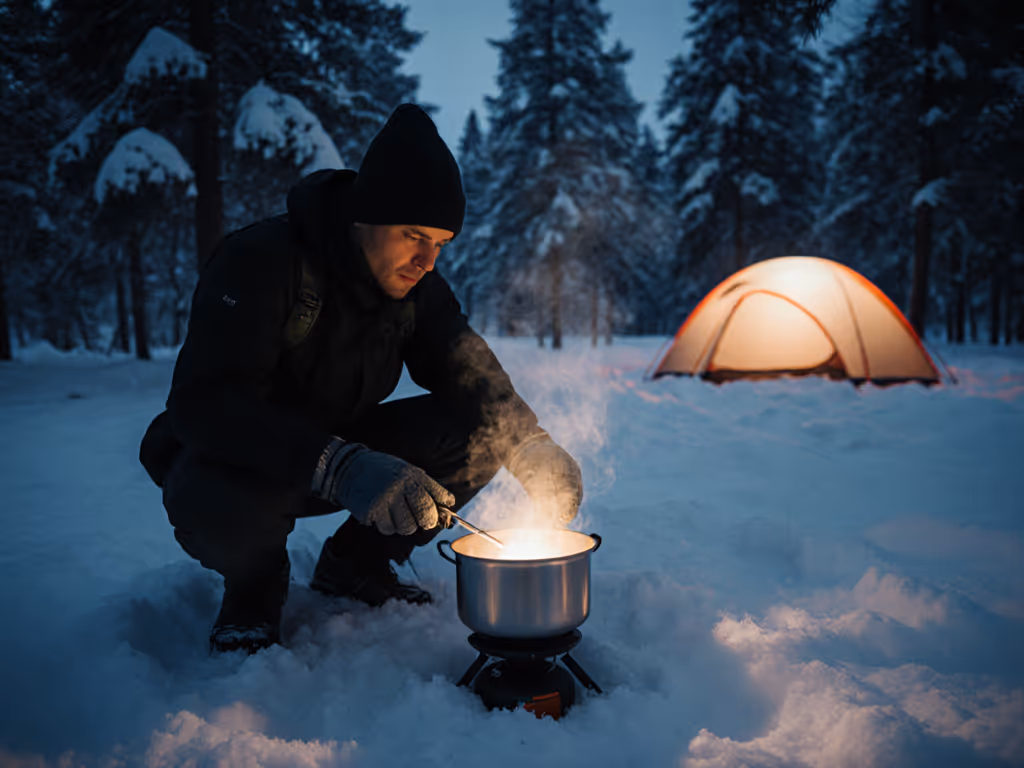
Cold punishes mistakes; redundancy and priming keep kitchens alive.
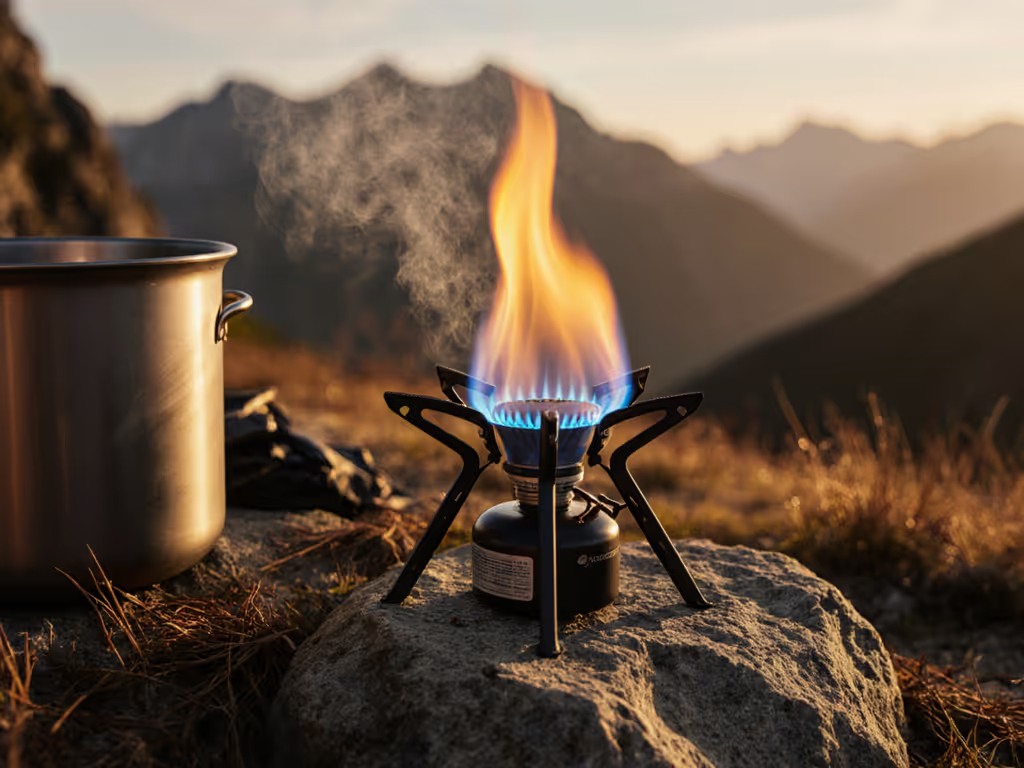
Yellow or orange flames signal incomplete combustion, unburned carbon particles glowing in the heat. In winter conditions, this means you're wasting precious fuel, creating soot that clogs valves and jets, and most dangerously, producing carbon monoxide. At high elevations or in enclosed vestibules (never cook in enclosed spaces; this violates our core safety boundary), this invisible gas can accumulate to lethal levels before anyone notices symptoms. Review our carbon monoxide safety checklist in the field-tested camp stove safety guide.
How do temperature extremes distort flame color interpretation?
Most flame color guides assume room temperature operation, irrelevant when your liquid fuel stove is battling -10°F winds. As temperatures fall, liquid propane-butane blends experience pressure drop inside the canister, reducing vaporization. For a deeper breakdown of which fuels stay reliable in the cold, see our propane vs butane vs white gas analysis. This causes oxygen-starved combustion that turns flames yellow even when all else is correct. Your stove isn't broken; physics is winning.
Here's what I tell winter travelers after seeing teams struggle at minus twenty:
- Below 20°F: Expect some yellow tipping even with proper operation, this is normal but monitor for expansion
- Below 0°F: Pure blue becomes rare; judge by flame stability more than color
- Inverted canister technique: Creates blue flame consistency down to -40°F by tapping liquid fuel
Respect preheat time. At -15°F, that extra 30 seconds of priming with a dedicated fuel bottle (not near tent walls or sleeping bags; never prime near soft goods) transforms a sputtering yellow flame into efficient blue operation. Patience here isn't luxury (it is the margin between function and failure).
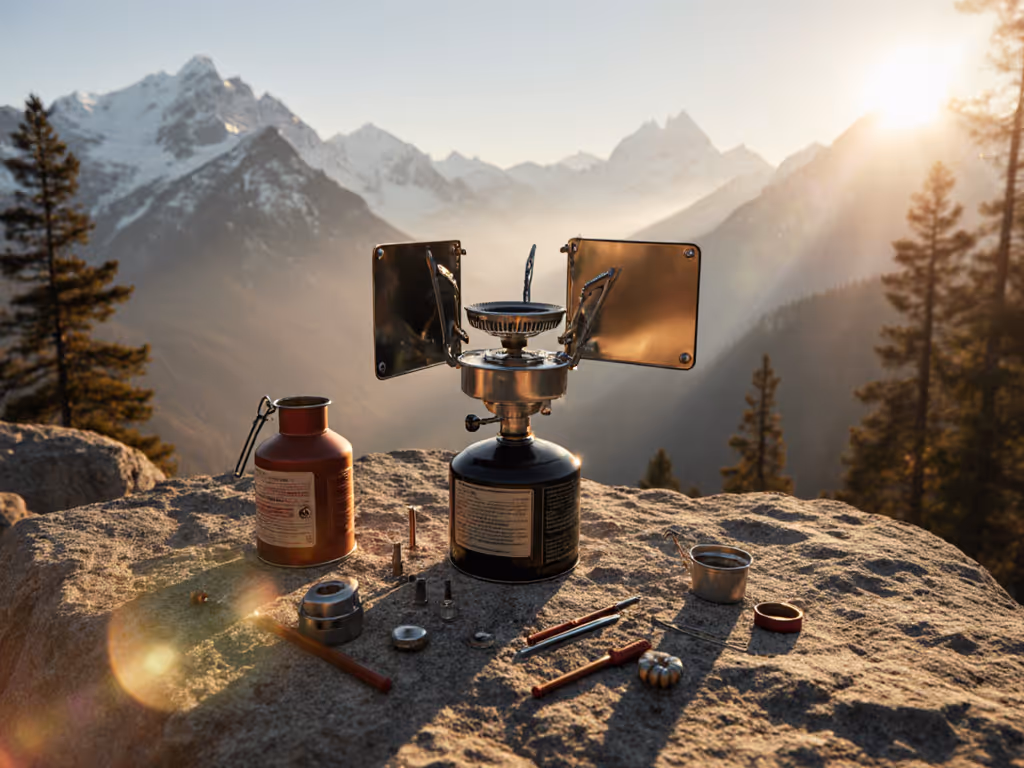
Why do liquid fuel stoves display different flame colors than gas canisters?
White gas and multi-fuel stoves introduce complexity through their liquid-to-vapor transition. Unlike pressurized gas canisters with consistent fuel delivery, liquid fuel systems require proper priming to reach optimal vaporization temperature. A yellow flame during initial operation often means the generator tube hasn't reached thermal equilibrium (typically 212°F for efficient combustion). Premature cooking attempts waste fuel and create soot.
I've watched teams at 10,000 feet fight orange flames that turned blue only after they:
- Warmed fuel bottles inside their parkas before pouring
- Used wind shields that protected without restricting airflow
- Allowed full preheat time before placing the pot
This isn't "stove tuning techniques" for efficiency alone, it is risk mitigation. Incomplete combustion at altitude creates significantly more carbon monoxide due to thinner air, making proper flame color interpretation potentially lifesaving. For gear that performs when oxygen is scarce, compare our high-elevation stove tests.
What critical mistakes do people make when interpreting flame colors?
Experienced winter travelers make dangerous assumptions about flame diagnostics. The most common (and most dangerous):
- Confusing flame color with stove output: A bright yellow flame might look powerful but indicates wasted energy
- Ignoring wind effects: Gusts disrupt oxygen-fuel mixing even when your setup appears stable
- Misjudging "normal" for winter: Most guides describe room-temperature operation, not Arctic conditions
- Prioritizing speed over safety: Rushing priming to save time creates dangerous carbon monoxide spikes
At -25°F, we needed liters of water by dawn. A team nearby fought a frozen regulator while ours ran steadily, because we primed patiently, shielded from wind, and kept bottles warm inside the parka. The margin wasn't luxury (it was safety), and we had enough fuel to brew morale after melting snow.
How can you actively monitor and optimize combustion efficiency?
Optimal flame characteristics in winter demand systematic observation beyond just color. Implement these field-proven checks:
- The paper test: Hold a plain index card vertically in the flame for 2 seconds. Minimal soot means good combustion; heavy blackening indicates poor efficiency
- Sound diagnostics: Efficient blue flames produce steady hiss; yellow flames often crackle and spit
- Temperature monitoring: Measure water boil times, significant increases suggest declining combustion efficiency
- Wind assessment: Even 5mph gusts can disrupt oxygen mixing, turning blue flames yellow
When you see yellowing at temperatures above freezing, check:
- Windshield placement (blocking airflow creates incomplete combustion)
- Fuel mixture (older canisters may have separated blends)
- Altitude effects (above 8,000 feet requires adjustment)
What actionable steps should you take before your next winter trip?
- Practice flame diagnostics at home: Learn what efficient combustion looks like in your specific stove before conditions get critical
- Carry backup priming fuel: Small dedicated bottle of white gas (never alcohol stoves in winter) for reliable ignition
- Implement redundancy: Bring both canister stove (with inverted technique capability) and liquid fuel system for critical trips If you're still deciding, start with our canister vs liquid fuel guide.
- Install CO detectors: Battery-powered models designed for camping (non-negotiable for any vestibule use)
- Document your baseline: Note boil times at home to recognize performance degradation in the field
Respect preheat time. Every second invested in proper priming delivers compound returns in fuel efficiency, safety margins, and mealtime reliability. In winter, when your stove is the difference between survival and crisis, your ability to read and respond to flame color interpretation becomes the foundation of your entire operation (not just another camping skill).
Final Reality Check
Forget Instagram-perfect blue flames when your thermometer reads -20°F. Winter flame science operates by different rules than backyard barbecue guides suggest. What matters isn't textbook perfection but your ability to recognize dangerous inefficiency and respond immediately. Your stove's flame color tells the truth about combustion completeness (are you fluent enough in its language to stay safe when conditions turn hostile?).
Take this actionable step before your next trip: Conduct a flame analysis drill at progressively colder temperatures (starting in your backyard). Note how wind, temperature, and fuel levels affect color and stability. Document your stove's specific thresholds: when yellow becomes dangerous, when blue indicates optimal efficiency for your equipment. This personalized reference beats any generic guide when decisions matter most.
Related Articles