Atmospheric Pressure Shifts: Stove Tuning for Rapid Ascents
By Amina Al-Khalil • 11th Mar

Atmospheric pressure cooking becomes a critical factor the moment you leave sea level. Rapid elevation gains (whether you're driving to a 9,000-foot basecamp in Colorado or climbing into the high country over three days) compress your cooking window and demand real-time stove tuning. Understanding rapid elevation stove impact isn't theoretical. It is the difference between a hot meal at dusk and charred beans, undercooked pasta, and a cold group.
When I'm scouting a new mountain route with clients, I always pack my altimeter alongside my stove. The two are linked more directly than most camp cooks realize. Your flame's behavior (its height, its stability, the speed at which water boils) is a conversation between your burner's design and the air pressure around it. Miss that conversation, and you'll spend hours watching pots that refuse to boil while food dries in the pan.
How Barometric Pressure Affects Your Stove's Performance
At sea level, the atmosphere exerts 14.7 pounds per square inch (psi) of pressure on your cookware.[1] For every 1,000 feet you climb, that pressure drops by roughly 0.5 psi.[1] At 5,000 feet, you're cooking under approximately 12.2 psi. At 10,000 feet, closer to 10.1 psi. This isn't a minor shift, it is the foundation for every adjustment that follows. For the science behind these changes, read our high-altitude stove physics explainer.
Water molecules need less energy to escape into a thinner atmosphere. Consequently, boiling point temperature drops measurably. At sea level, water boils at 212°F (100°C). At 3,000 feet, it boils at roughly 207°F. At 9,000 feet, closer to 202°F.[1][4] This means liquid is already transitioning to steam at a lower temperature, and your food cooks slower (sometimes significantly slower) even though your burner output hasn't changed.
The effect compounds for foods with long cook times. Dried beans can become intractable; without adequate boiling temperature, their skins won't soften regardless of duration. Pasta and grains require longer simmering windows. Soups and stews that take 45 minutes at sea level may need 90 minutes in the high country.[1]
Pressure Change Adaptation: Core Adjustments for Stove and Cookware
Boiling and Simmering at Elevation
Your stove hasn't changed, but your environment has. Accept that premise first. Then adjust strategically:
- Increase cooking time by 5 to 10% for every 1,000 feet above 2,000 feet of elevation.[2] At 9,000 feet, that's 35 to 70% longer for the same dish compared to sea level. This isn't a guess; it's baked into the thermodynamics of boiling point reduction.
- Use a pressure cooker if your weight budget allows. Pressure cookers seal vapor-tight, trapping steam and raising the internal pressure (and thus the boiling point) to levels far above ambient atmosphere.[1] At 9,000 feet, high-pressure mode delivers roughly 21.5 psi internal pressure, which is equivalent to low-pressure mode at sea level.[2] For trip leaders cooking for groups, this is a game-changer.
- Cover your pots and pans to minimize evaporation. The drier air at elevation pulls moisture fast, especially if you're above 5,000 feet and humidity drops below 40%.[1] A lid, a sheet of foil, or even a lightweight stuff-sack cover slows water loss and keeps your food from drying out mid-cook.
Frying and High-Heat Cooking
Deep-fat frying requires calibrated attention at elevation. Water inside your food boils faster at lower temperature. If you maintain sea-level frying temperature, the exterior browns (or burns) while the interior stays undercooked. Reduce frying temperature by approximately 3°F for every 1,000 feet of elevation gain.[1] At 5,000 feet, drop your target frying temperature by roughly 15°F. Monitor closely. Fat can overheat quickly if you lose focus.
Sautéing poses a separate hazard. Evaporation is so rapid at elevation that vegetables (particularly onions and peppers) can char on the hot pan in seconds. I've learned to keep burner heat lower and extend cooking time. Patience beats a scorched meal.
Baking and Breads
Leavening agents (baking powder, baking soda, yeast) react more vigorously in low-pressure air.[1][3] Cakes rise too fast, the structure can't support the volume, and the cake collapses. Quick breads and soufflés suffer similarly. If your trip plan includes camp-baked items:
- Reduce baking powder or baking soda by 10 to 15% from your sea-level recipe.
- Use larger baking vessels to accommodate extra rise.
- Lower oven temperature by 15 to 25°F to slow the rise and give structure time to set.
- Increase liquid slightly (by 1 to 2 tablespoons per cup of flour) to offset faster evaporation.
Bread doughs ferment faster too; yeast activity accelerates in the lower pressure. Watch your rise time carefully. Your dough may be ready hours earlier than the recipe suggests.
Stove Type Selection for Rapid Ascent Routes
Different stove architectures respond differently to pressure change. Know your tool before you leave home. For field-tested picks that stay reliable above 10,000 feet, see our mountain stove roundup.
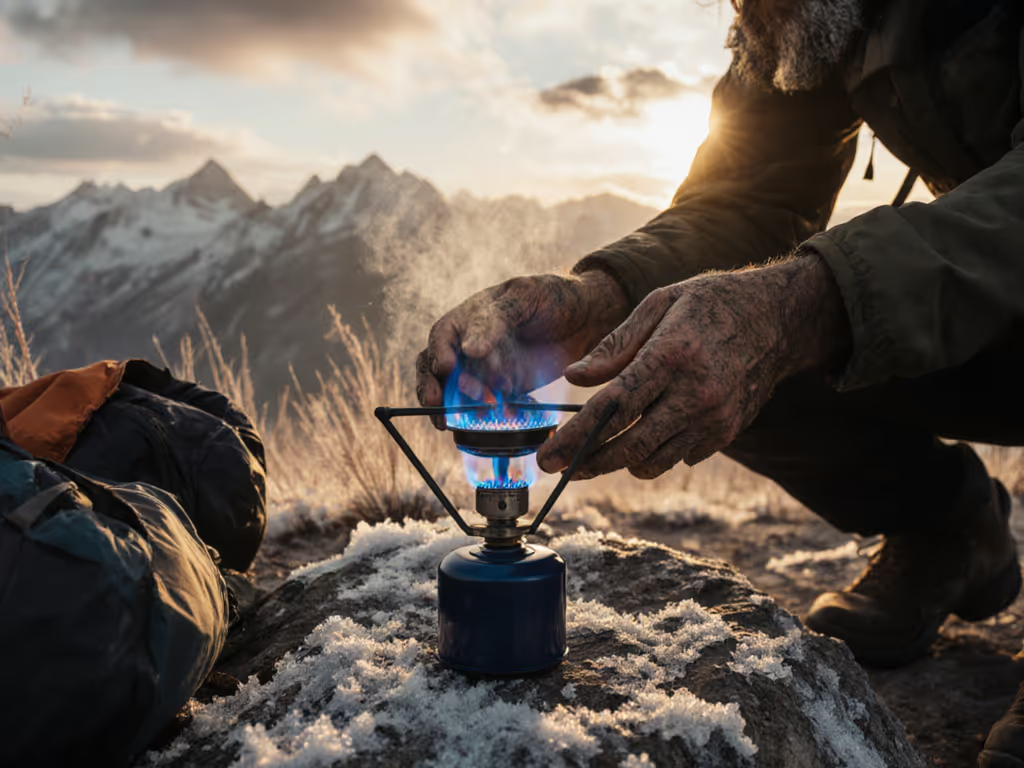
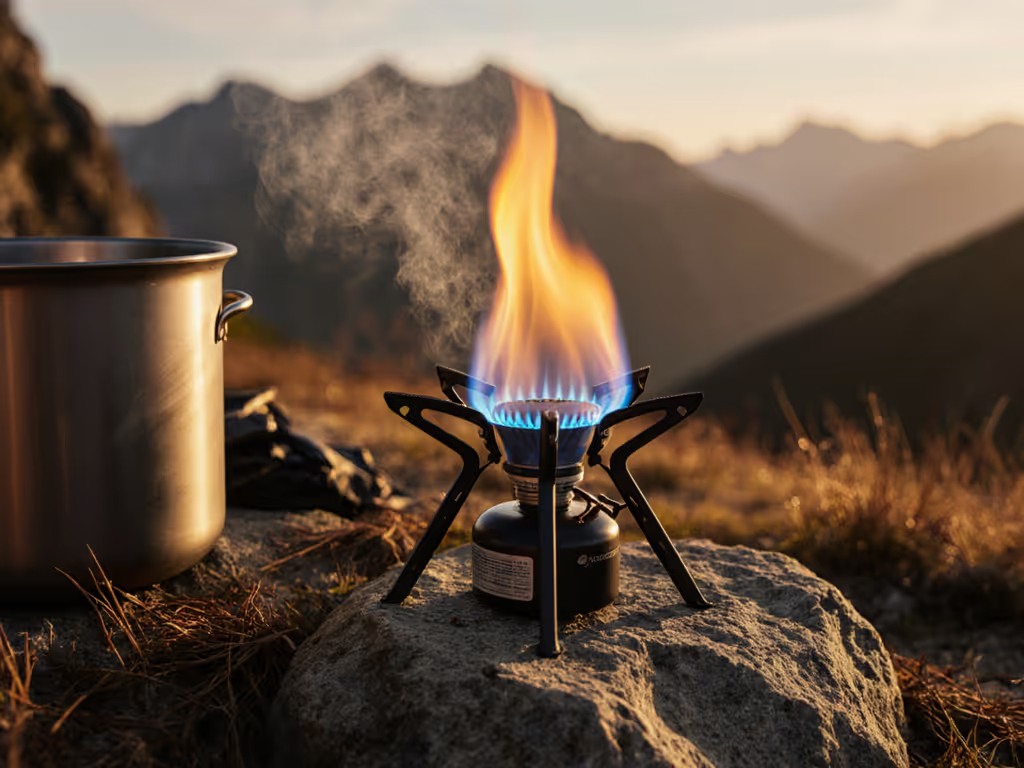
Canister Stoves
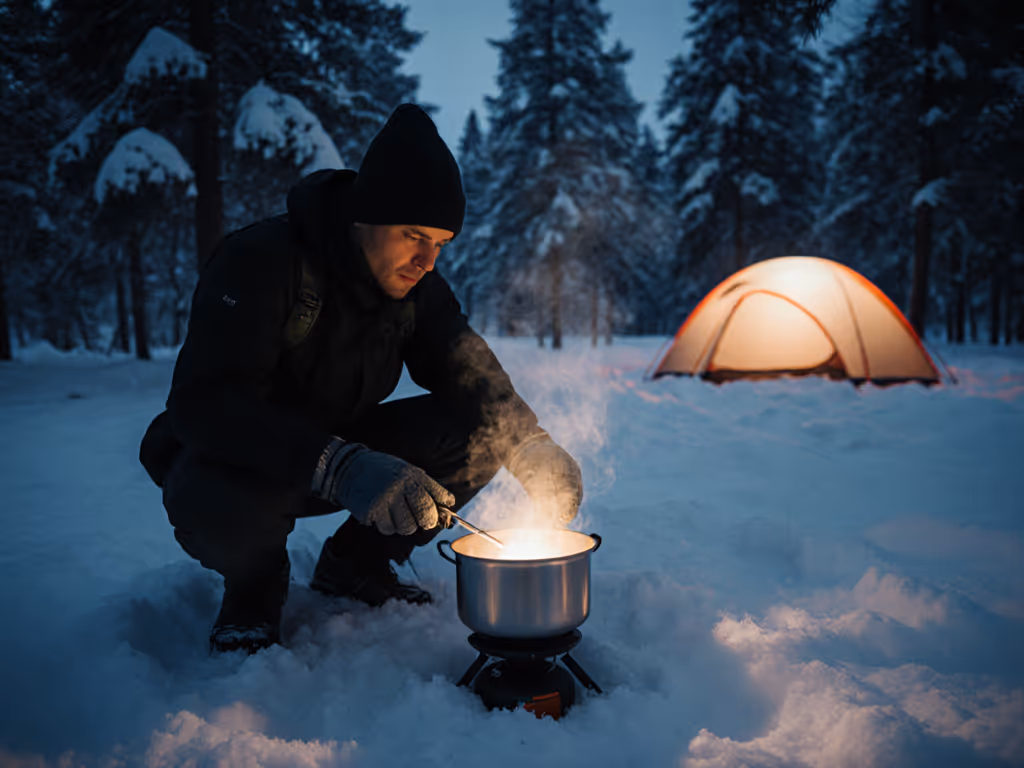
Standard butane-propane cartridge stoves are workhorse options for most backpacking trips. However, regulator freeze becomes a real threat in high alpine environments, and cartridge pressure drops as temperature falls. Above 8,000 feet in winter or high-altitude shoulder seasons, canister pressure may fall below the regulator's threshold, and your flame weakens or dies.[2]
Workaround: Inverted cartridge systems (with a remote valve and fuel line) allow you to insulate the cartridge against your body heat and place the burner head in the wind. This keeps flame height steady.
White Gas and Liquid Fuels
White gas (naphtha) performs reliably across nearly all elevations and temperature ranges. It vaporizes predictably and generates stable, high-output flames even at 14,000 feet. The trade-off is priming, pump maintenance, and careful field servicing. If you're new to liquid fuel, start with our step-by-step priming techniques to avoid cold-start stalls. If your route is a rapid, multi-day ascent with uncertain resupply, white gas is the calculated choice. A serviceable liquid-fuel stove (one with accessible O-rings, jets, and fuel lines) is insurance against trip failure. Still deciding between technologies? Our canister vs liquid fuel decision guide lays out the trade-offs by temperature, altitude, and trip length.
Pressure Cookers
For groups, vehicle-based camps, or expeditions where weight matters less than cooking efficiency, a pressure cooker is non-negotiable at elevation. Internal pressure can be raised high enough that cooking times at 10,000 feet become nearly equivalent to sea-level performance.[2] This saves fuel, saves time, and reduces stress during storms or early darkness.
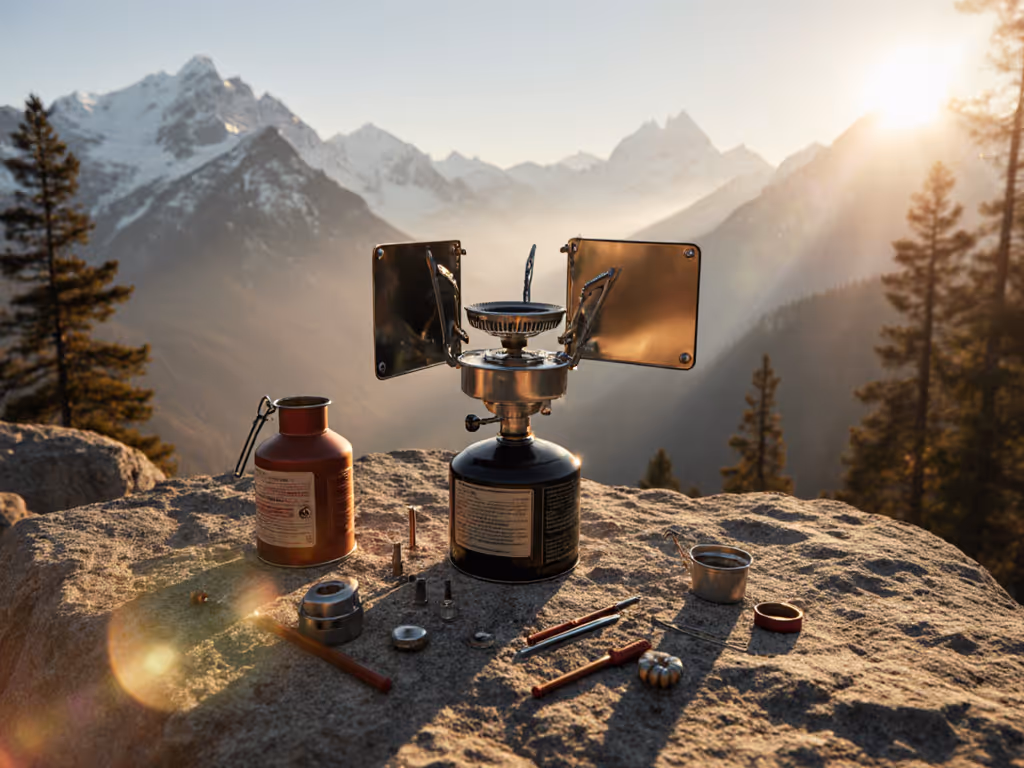
Field Maintenance and Altitude-Specific Checks
When you move rapidly upward, your stove's seals, jets, and fuel lines face both pressure and temperature changes. Before you depart a lower camp and ascend higher:
Pre-Ascent Checklist:
- Inspect all fuel-line connections for weeping or cracks.
- Run your stove at full power for 5 minutes and verify flame is steady and quiet. A quiet flame is a healthy flame.
- Check fuel canisters for dents or leaks; a compromised canister fails spectacularly at altitude.
- Verify your wind screen is secure and won't obstruct airflow (air is thinner; you need clean combustion).
- Test your ignition system (whether piezo or match) twice; backup methods matter when conditions are marginal.
If you're using a liquid-fuel stove, check that your pump O-ring is pliable and your fuel screen is clear. High altitude magnifies any existing weaknesses.
Fuel Consumption and Waste Reduction at Elevation
Longer cook times mean higher fuel consumption. A 35% time increase at 9,000 feet roughly translates to 35% more fuel burned per meal. This has environmental and logistical weight.
Practical Waste-Reduction Moves:
- Refill small cartridges or canisters before your trip, not disposable ones. Refillable 1-pound propane cylinders, when available locally, cut single-use waste dramatically.
- Invest in a heat-exchanger pot with good sidewall thermal contact. It boils faster and holds heat longer, reducing fuel-burn time.
- Use a windscreen rated safe for your stove type. A good windscreen cuts heat loss by 15 to 20%, offsetting some of that altitude penalty.
- Batch your cooking: Boil larger quantities of water once, then use it for multiple tasks. Two full boils burn more fuel than one large boil divided efficiently.
- Plan menus around no-cook or minimal-heat meals for one or two nights of your trip. A high-calorie energy-bar lunch or no-cook dinner takes zero fuel and gives your group a moral win.
Fix it, fuel it smart, pack out less, every trip.
Testing Your System Before You Go
I learned this the hard way years back. A canyon downpour turned our kitchen gritty; the stove sputtered mid-dinner because I hadn't run a real pre-trip test at my planned elevation. I laid out a bandana, stripped the burner, and cleared the jet with fine wire. Ten minutes later, couscous steamed again, but I'd burned daylight and rattled the group. A stove you can fix beats a lighter one you can't, but prevention is smarter than field repair.
If your route includes a rapid ascent of 3,000+ feet, drive to a parking area at your target elevation and cook a full meal there. Test boil times. Feel how your flame behaves. Does it flutter? Does your cartridge feel cold? If your simmer is unstable, adjust your stove position or test different fuel-to-oxygen ratios. Real testing at altitude takes an hour and prevents disaster.
Actionable Next Steps
- Map your route elevations and calculate pressure-adjusted cooking times for your planned meals using the 5% rule per 1,000 feet above 2,000 feet.
- Conduct a full cook test at your route's highest planned camp elevation (or nearest accessible elevation) before departure.
- Pack a liquid-fuel backup stove or inverted-canister system if your route climbs above 8,000 feet or includes winter travel.
- Prepare a field repair kit: spare jet wire, fuel-line patch, O-ring assortment, and a small wrench. Know how to clean your burner head.
- Measure your actual fuel burn during your test cook at elevation, then add a 20% safety margin to your calculated fuel load.
- Document your findings: elevation, temperature, stove type, cook time, fuel used, flame stability. Share this data with trip partners and return to it on your next high-altitude route.
Atmospheric pressure is relentless and indifferent. But it is also predictable. Tune your stove to the air you'll breathe, and your camp kitchen will perform as reliably as it does at home, just with a bit more patience and a healthy respect for elevation.
Related Articles